I have had quite unfortunate experiences with self tanning; patchiness, streaks, stained sheets, being mistaken for a root vegetable, you name it. But this product left me with none of those embarrassments.
I love a good fake tan – I use SPF religiously to avoid both skin cancer and excessive sun damage. We’re talking SPF30+ even if I am just indoors. So naturally I am stuck with a pretty pale face (and body) all year round. To look a little bit healthier and like I have that radiant “yes, I can go on holiday whenever I like” glow, I reach for the self tanner.

I finally decided to give Tan-Luxe a try back in February. Being wary of overdoing it, I wanted to try one of the less scary ones (not that any look particularly frightening). And I have to say, I was not disappointed.
PROS & CONS
- PRO: There is no guide color, which means no staining the sheets or clothing. I can apply this 15 minutes before getting dressed and I have already started to tan by the time I leave the house. Love!
- PRO: The smell is fantastic – it smells wonderful out of the bottle and I only get the tiniest hint of that self tan smell as the product works over the next 12 hours after application.
- PRO: The color is absolutely fantastic and looks so natural. It never looks orange at all, and it just looks so beautiful and soft.
- CON: Ok, so the price is a little bit of a con as this is not a budget product. It is 250 ml and $33 / £22. I definitely consider it worth the price but I do go through it quicker than I would like. It will go a bit further if you mix it with the drops, but more on that further down.
BEFORE & AFTER


As you can see, the color is beautiful, very natural and not orange at all. I have taken these pictures in natural light, about 12 hours after applying the self tanner. I have applied the Tan-Luxe the gradual self tan to my left leg in all the pictures, and my right leg has my natural skin color. The left picture is after one layer, the middle picture is after two and the right picture is after three layers. Please excuse me while I go and try to even this out now.
TIPS & TRICKS TO MAKE THIS PRODUCT YOUR BEST FRIEND
- Blend! I use a tanning mitt to apply it and just start with one body part. I then move systematically in order to avoid over applying, missing or not blending certain parts to avoid getting an uneven color.
- Use drops! I am of course really pale, so if you’re not as “reflecting the sun” colored, you can probably go a bit further and mix this body lotion with their tanning drops to deepen the tan a bit more. I am thinking I will do this the next time.
- Night time application. I prefer to use this at night, to let it dry without getting water “spots” or sweat it off in the first few hours after application. I will definitely use it in the morning in a pinch, but highly prefer to use it at night (as I do with all self tanners).
- The face. I know Tan-Luxe has products specifically for the face, but I have used this one on the face as well with great results. Sometimes mixed with my moisturizer for a soft glow, or straight to the face if my face is looking too pale compared to my body.
Click to shop!


This is genius for removing old self tanner, fixing any streaking or patchiness or just prepping the skin for applying self tanner. I can’t be without it now!

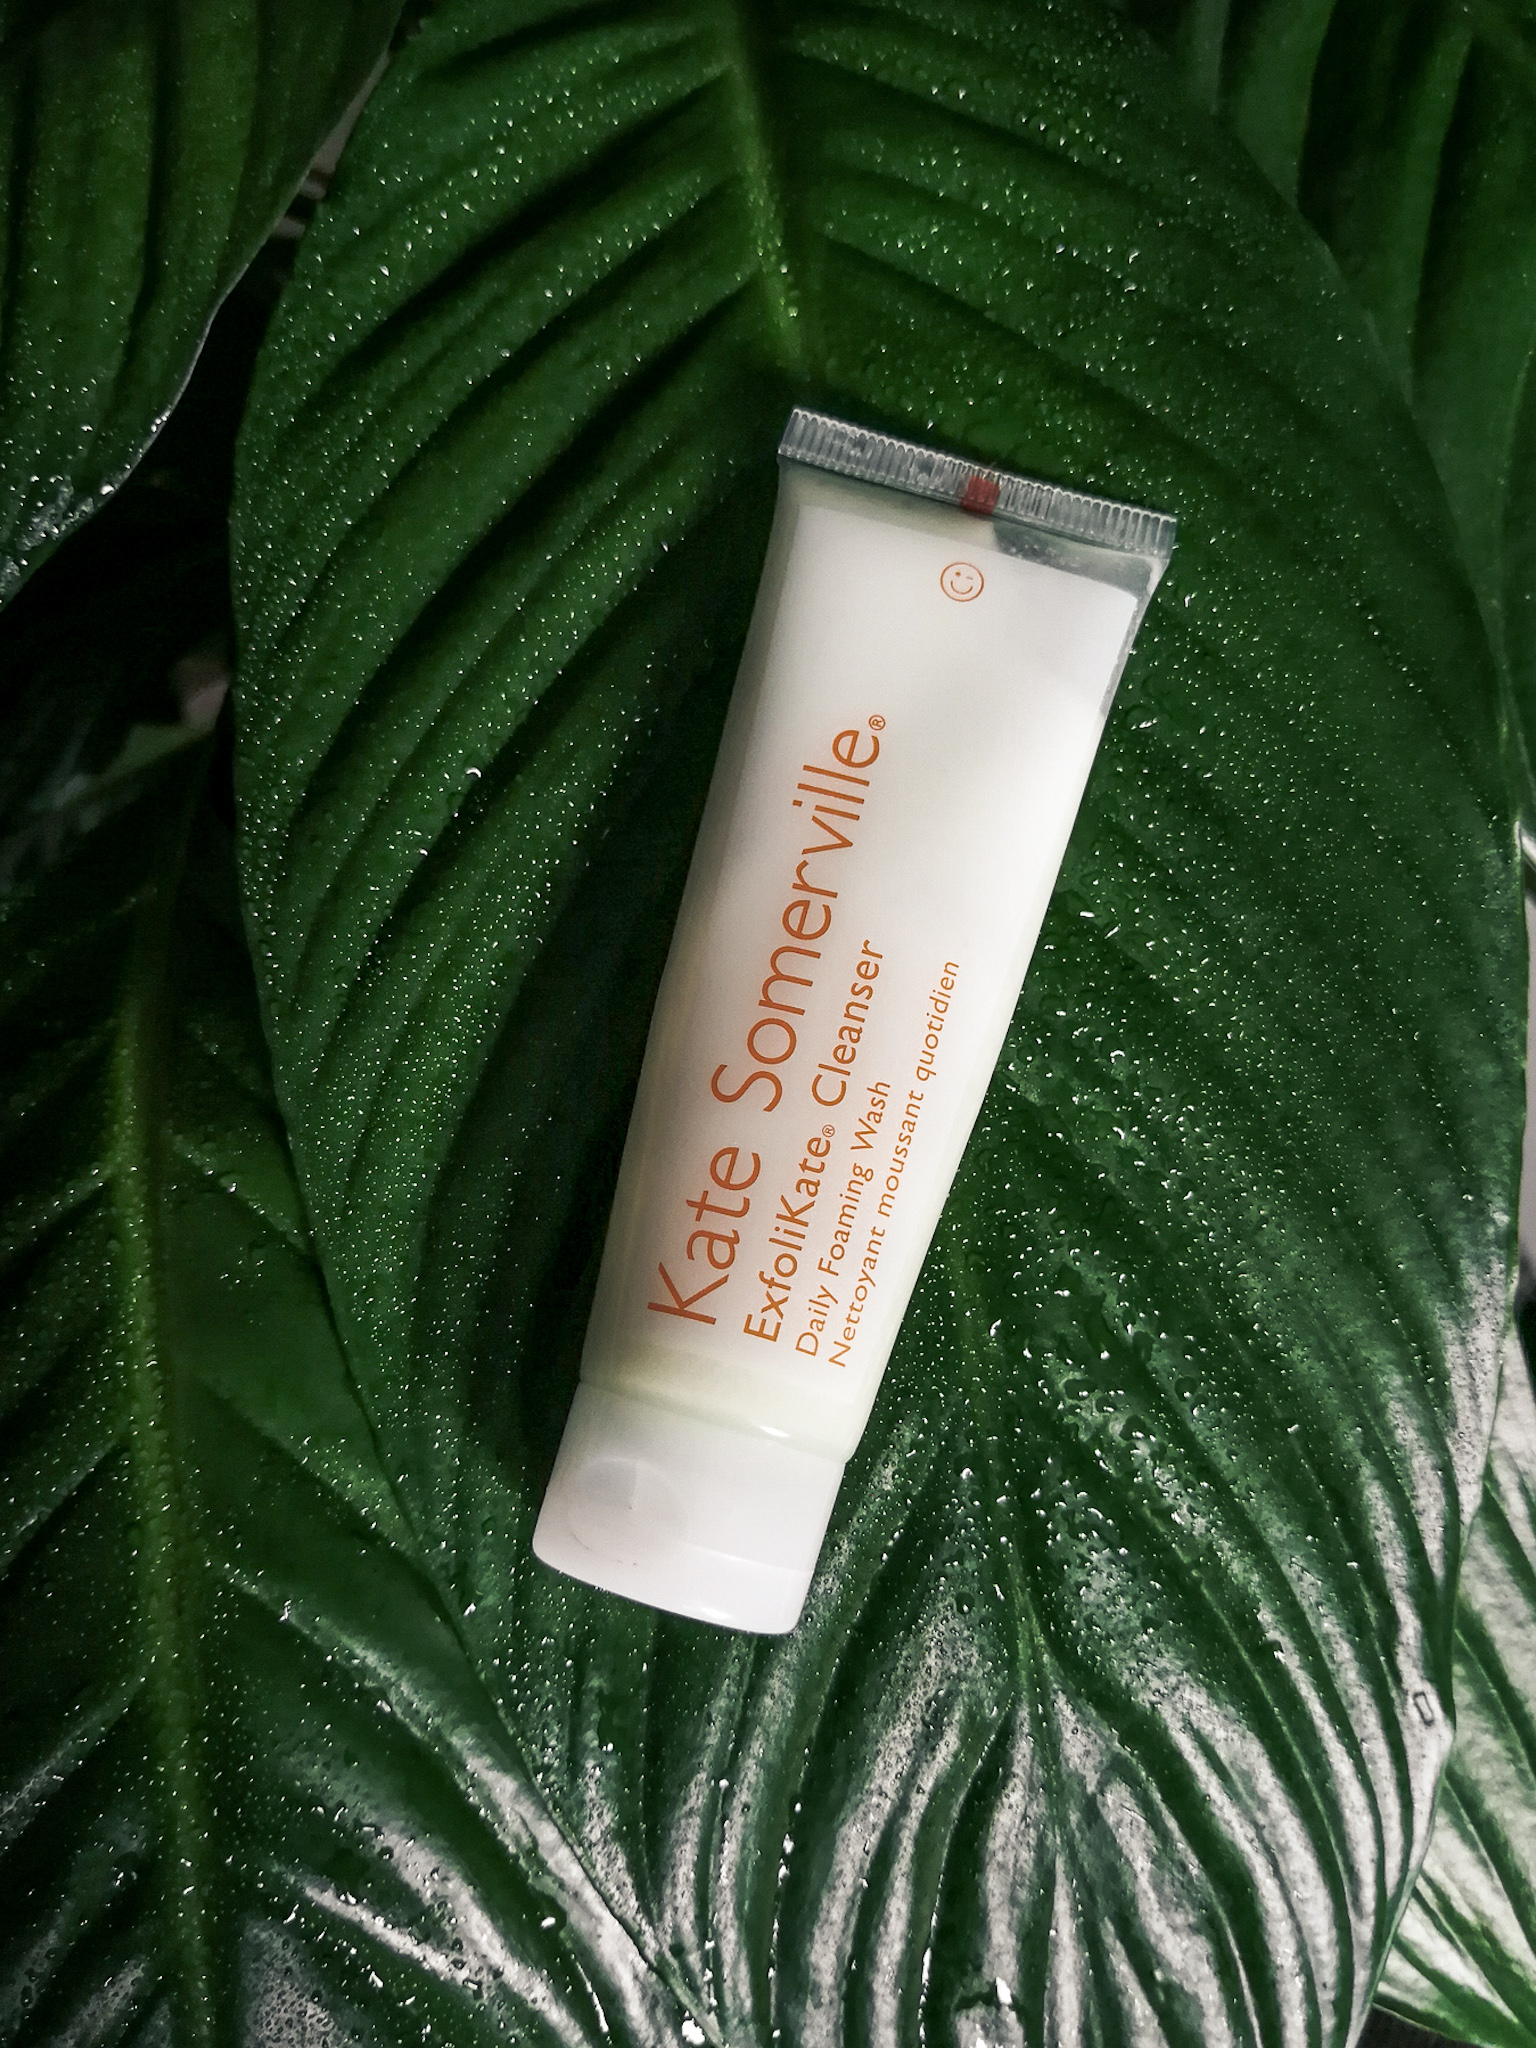
Definitely use a mitt with this product to avoid yellow fingers or streaking!
DISCLAIMER: This post is not sponsored and does not contain any affiliate links. I paid for these products myself.